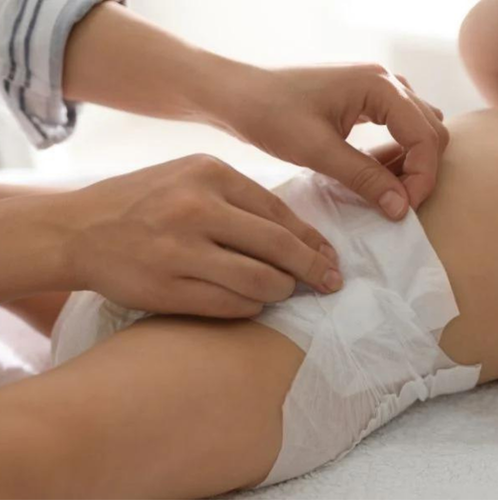
Changing a diaper is one of the most fundamental skills every parent and caregiver needs to master. While it might seem daunting at first, with practice and a bit of guidance, it becomes a quick and efficient task. Here’s a step-by-step guide on how to properly change a diaper, ensuring the process is smooth and comfortable for both you and your baby.
Step 1: Prepare Your Supplies
Before you begin, make sure you have all necessary supplies within arm’s reach. This includes:
- A clean diaper
- Baby wipes or a damp washcloth
- Diaper cream or ointment (if needed)
- A changing pad or a clean, soft surface
- A plastic bag or diaper pail for disposal
Having everything ready beforehand prevents leaving your baby unattended, which can be dangerous.
Step 2: Position Your Baby
Place your baby on a safe, flat surface. This could be a changing table, a bed with a changing pad, or the floor with a clean blanket or mat. If using a changing table, always use the safety strap if available. Ensure the area is clean and comfortable.
Step 3: Remove the Dirty Diaper
- Unfasten the Diaper: Carefully undo the tabs or adhesive strips on the dirty diaper.
- Hold the Ankles: Gently lift your baby’s legs by holding their ankles with one hand.
- Remove the Diaper: With the other hand, slide the dirty diaper out from under your baby, keeping the front part of the diaper in place to wipe off the bulk of the waste if needed.
Step 4: Clean Your Baby
- Wipe Thoroughly: Use baby wipes or a damp washcloth to clean your baby’s bottom thoroughly. Wipe from front to back to prevent any risk of infection, especially for girls.
- Dry the Area: Pat your baby’s skin dry with a clean cloth to prevent diaper rash. Allowing the area to air dry for a few moments can also be beneficial.
Step 5: Apply Diaper Cream (if needed)
If your baby has a diaper rash or you want to prevent one, apply a thin layer of diaper cream or ointment to their bottom. This helps create a barrier that protects the skin from moisture and irritation.
Step 6: Put on the Clean Diaper
- Position the Diaper: Place the back half of the clean diaper (the side with tabs) under your baby’s bottom while keeping their legs lifted.
- Pull Up the Front: Pull the front half of the diaper up to cover your baby’s belly.
- Fasten Securely: Fasten the tabs or adhesive strips snugly but comfortably. The diaper should be secure enough to prevent leaks but not so tight that it causes discomfort.
Step 7: Check the Fit
Ensure that the diaper fits properly around your baby’s waist and legs. You should be able to fit two fingers between the diaper and your baby’s stomach. The leg cuffs should be pulled out to prevent leaks.
Step 8: Dispose of the Dirty Diaper
Roll up the dirty diaper and secure it with the adhesive tabs. Place it in a plastic bag or diaper pail to contain odors and dispose of it appropriately. If you’re using cloth diapers, place the soiled diaper in a designated diaper bin for laundering.
Step 9: Wash Your Hands
Always wash your hands thoroughly after changing a diaper to prevent the spread of germs. If you’re not near a sink, use hand sanitizer as an interim solution.
Tips for an Easier Diaper Change
- Distract Your Baby: Use a toy, a song, or a mobile to keep your baby entertained and still during the change.
- Be Quick but Gentle: Try to be efficient to keep your baby comfortable, but never rush to the point where you might miss a step or cause discomfort.
- Stay Calm: Babies can sense stress, so try to remain calm and reassuring throughout the process.
Conclusion
Changing a diaper properly is an essential skill that ensures your baby stays clean, comfortable, and healthy. By preparing your supplies in advance, cleaning your baby thoroughly, and ensuring a good fit for the new diaper, you can make the diaper-changing process a smooth and stress-free experience. With practice, you’ll become proficient in no time, turning what might initially seem like a daunting task into a routine part of caring for your baby.
